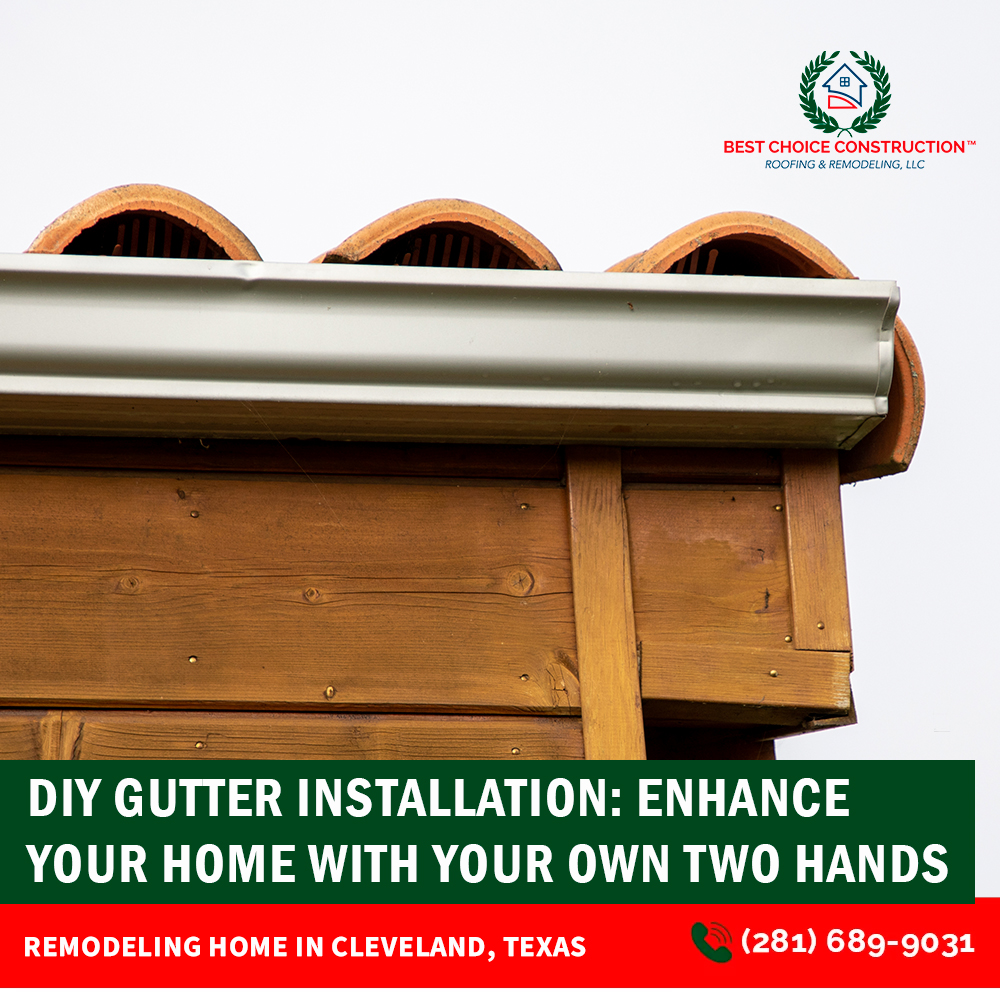
DIY GUTTER INSTALLATION: ENHANCE YOUR HOME WITH YOUR OWN TWO HANDS
Gutters are a crucial component of your home's drainage system, directing rainwater away from your foundation to prevent damage. While hiring professionals for gutter installation is an option, a do-it-yourself (DIY) project can be a rewarding and cost-effective way to get the job done. In this blog post, we'll guide you through the process of installing your own gutters, step by step.
Materials You'll Need:
Before you start, gather the following materials:
1. Gutters: Choose the type and material that best suits your home. Common materials include aluminum, vinyl, and steel.
2. Downspouts: You'll need downspouts to direct water from the gutters to the ground. Ensure they match your gutter material.
3. Brackets and Hangers: These are used to secure the gutters to your home. Make sure you have the right type for your gutter style.
4. Gutter Screws or Rivets: These fasteners will keep your gutters securely in place.
5. End Caps: These will seal the ends of your gutters.
6. Gutter Sealant: Use this to seal joints and seams.
7. Safety Gear: Don't forget gloves, safety glasses, and a sturdy ladder.
Step-by-Step Guide:
Now, let's get started with the DIY gutter installation:
1. Measure and Plan:
Determine the length of gutters and downspouts you'll need. Measure the length of your roofline to determine the gutter length accurately. Plan the placement of downspouts to ensure proper water flow.
2. Prepare the Surface:
Clean the fascia (the flat board that runs along the roofline) to ensure a secure attachment. Remove any old gutters or debris.
3. Attach Brackets:
Install brackets or hangers along the fascia, ensuring they're level and spaced correctly. These will support your gutters.
4. Cut Gutters:
Measure and cut your gutters to the appropriate length using a hacksaw or tin snips. Make clean, straight cuts for a professional look.
5. Assemble Gutters:
If your gutters come in sections, join them using connectors or slip joints. Seal the seams with gutter sealant to prevent leaks.
6. Attach Gutters:
Secure the gutters to the brackets or hangers using gutter screws or rivets. Make sure the gutters slope slightly towards the downspout for proper drainage.
7. Install Downspouts:
Attach downspouts to the gutters using elbows and straps. Ensure they're securely fastened to the side of your house.
8. Add End Caps:
Seal the ends of your gutters with end caps to prevent water from escaping.
9. Test the System:
Before calling it a day, test your new gutter system by running water through it with a hose. Check for any leaks or improper drainage.
10. Final Adjustments:
Make any necessary adjustments to the slope or positioning of your gutters to ensure optimal water flow.
Installing your own gutters can be a satisfying DIY project that enhances your home's functionality and appearance. By following these steps and taking your time to do it right, you can save money and enjoy the satisfaction of a job well done. Remember to prioritize safety throughout the installation process, and don't hesitate to seek advice from professionals or experts if needed. Happy gutter installation!
![]() (281) 689-9031
(281) 689-9031![]() 11564 Warner Rd, Cleveland, TX 77328
11564 Warner Rd, Cleveland, TX 77328
Best Choice Construction is a family locally owned company with 15 years of experience in the roofing, construction, and remodeling business in North Houston. We stand for the provision of results of extreme quality to our clients in every project and bring you the most competitive quotes in the industry.